
Setting Up
Install Copy-Fast
The first step to writing great copy fast is installing Copy-Fast on your computer where you have Microsoft Word for Windows installed.
Remember, Copy-Fast works with Microsoft Word for Windows versions 2007 or higher.
Screen | Instruction |
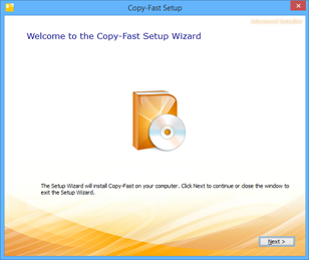
| Welcome Please ensure you have closed all sessions of Microsoft Word. Use Windows explorer to find and then double-click the Installation Wizard program file. This is an executable program file with a name like ‘Copy-Fast 1.4.1.exe’. The introduction screen will appear. Click Next to continue. |
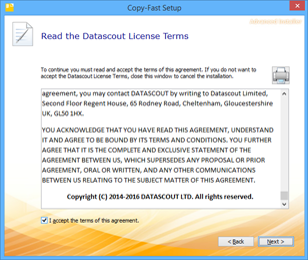
| Licence Agreement The second screen has the End User Licence Agreement (also called an EULA). Use the scrollbar to read and scroll to the end of the EULA. Then click ‘I accept the terms of this agreement’ and click Next. |
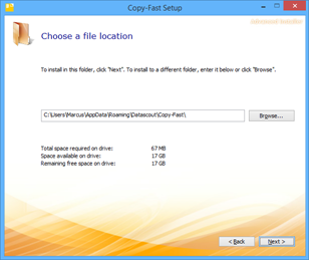
| File Location The third screen confirms you have enough disk space to install Copy-Fast and gives you the option to select a different installation folder. Unless you have a special requirement, you should leave this as shown. Click Next to continue. |
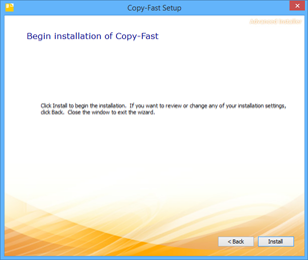
| Confirmation This is the final confirmation before installation begins. To proceed with the installation click Next. |
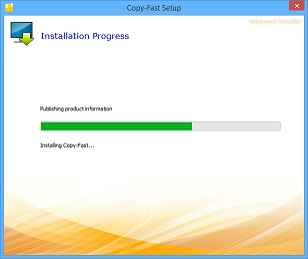
| Installation Now Copy-Fast is being installed on your computer. Nothing to do here but wait 🙂 |
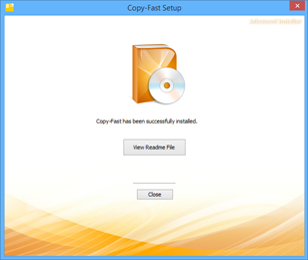
| Finished The final screen confirming that Copy-Fast has been installed. While you’re here click the View Read Me button to open a handy Quick Start Guide. 
|